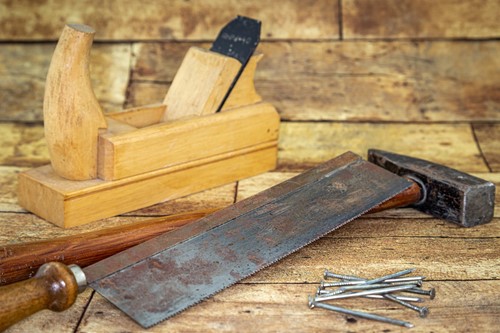
A workbench offers a handy way to store your tools in your garage or shed, as well as a place to work on tasks or hobbies. You don’t have to head to the store to buy a workbench for your home. Instead, put your woodworking skills to the test by building your own workbench. The following tips provide a rough idea of what it takes to make a DIY workbench.
For a simple workbench, you’ll need a circular saw, miter saw, cordless drill, straightedge and tape measure. You should also have safety glasses available to protect your eyes while building your workbench. You’ll also need drywall screws and plywood cut to the lengths you want your workbench to be.
Your DIY workbench starts with building the frames for the surface and the lower shelf. When the frames are done, you’ll then attach the legs to the surface frame. Once you’ve attached the legs, you can attach the lower frame. Set paint cans or similar items below the lower frame to help it stay in place while you attach it to the workbench legs.
The work surfaces for your workbench should provide a smooth and sturdy place for you to store items and work on tasks. Attach pieces of plywood to the surface frame and lower frame to create these work surfaces.
The top shelf on your DIY workbench offers a place to hang or store tools to keep them off of your work surface. Keeping these items on the top shelf makes them easy to reach when you need them. After attaching your work surfaces, your next step is building the frame for your top shelf. Once the frame is done, you can attach a piece of plywood to the top shelf and connect the top shelf legs. When you have the top shelf legs attached, you can then attach the entire top shelf to the main part of your workbench.
The back of your workbench will be open, but you can attach pegboards or another type of backer board to it. These boards provide a good way to organize various tools you might need for your projects. Other finishing touches to consider include lighting, power strips and vises. Lighting provides the illumination needed for working on tasks at your workbench, especially if you’re handling smaller tools or items. Mounted power strips offer a convenient place to plug in power tools. A bench vise is an essential tool that allows you to do tasks such as sawing or sanding as safely as possible.
Hi, We are here to help and would love to assist you. Whether you're in the research phase at the beginning of your real estate search or you know exactly what you're looking for, you'll benefit from having our team of top notch seasoned real estate professionals by your side.
We are ready to put our real estate experience to work for you. "We know Southwest Florida".